Advertisement
Quick Links
Philips Consumer Lifestyle
Service Manual
PRODUCT INFORMATION
- This product meets the requirements regarding
interference suppression on radio and TV.
- After the product has been repaired, it should function
properly and has to meet the safety requirements as
officially laid down at this moment.
TECHNICAL INFORMATION
- Voltage
- Frequency
- Power consumption
- Standby power
- Contents reservoir
- Colour setting
- Sap coding
OPTIONAL (accessories)
- No specific issues
Published by Philips Consumer Lifestyle
12/03
: 220 - 240 V
: 50 - 60 Hz
: 1450 W
: 1 W
: 1200 cc
: Dark stroke
: HD7860/60
Printed in the Netherlands
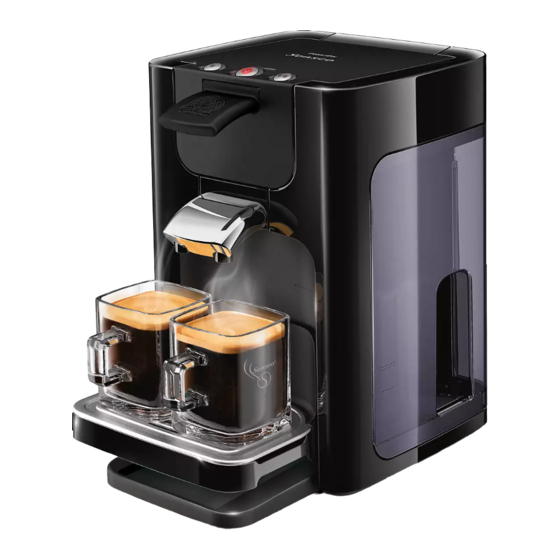
Coffee Maker Senseo
Brewhead
detection
sensor
Water level
sensor S1
L
Pump M
CONTROL
PCB
N
Push buttons
© Copyright reserved
HD7860/60
HD7860/01
Temp.
Sensor
TCO
Boiler
Fuse
Fuse
Subject to modification
Advertisement

Related Manuals for Philips Senseo HD7860/01


Summary of Contents for Philips Senseo HD7860/01
- Page 1 - Contents reservoir : 1200 cc - Colour setting : Dark stroke - Sap coding : HD7860/60 OPTIONAL (accessories) Push buttons - No specific issues Published by Philips Consumer Lifestyle Printed in the Netherlands © Copyright reserved Subject to modification 12/03...
- Page 2 HD7860/60 / HD7860/01 DISASSEMBLY- AND RE-ASSEMBLY ADVISE To be able to open the appliance please follow bellows steps: To be able to reach the inner parts of the lid assy follow below steps: 1. Make sure all accessories like tank, podholders, drip tray, spout, and collector are removed.
-
Page 3: Repair Instruction
HD7860/60 / HD7860/01 DISASSEMBLY- AND RE-ASSEMBLY ADVISE 3. The lid cover is still fi xed with two snap locks C, which REPAIR INSTRUCTION can be reached with a screwdriver from the backside of the Descaling appliance. (see pictures) Descaling is an important element in Senseo maintenance. It should be done at least once every 3 months, up to 6 times a Year! This will prolong the life of your appliance and will guarantee... - Page 4 HD7860/60 / HD7860/01 REPAIR INSTRUCTION Volume adjustment Automatic fi lling procedure: The PCB circuit board makes it possible to adjust the volume The Senseo PCB contains a automatic fi lling procedure output by means of pushing the one-cup and two-cup user software routine.
-
Page 5: Parts List
HD7860/60 / HD7860/01 PARTS LIST Service code Description 4222 259 44210 Padholder assy 1-cup Deep Black 4222 259 44220 Padholder assy 2-cup Deep Black 4222 240 00460 Driptray cover 4222 247 61890 Driptray Deep Black 4222 259 43280 Water container assy Translucent Dark Purple 4222 259 45330 Lid-Button assy... -
Page 6: Exploded View
HD7860/60 / HD7860/01 EXPLODED VIEW... - Page 7 HD7860/60 / HD7860/01 EXPLODED VIEW Always exchange the whole lid-button assy 6. Never unscrew the screws which are holding the button case assy. When you do so the button case will not be air-tight anymore which can result in steam/water leakage. This will cause that the button assy PCB will malfunction after some use!
- Page 8 HD7860/60 / HD7860/01 EXPLODED VIEW...
- Page 9 HD7860/60 / HD7860/01 EXPLODED VIEW...
Need help?
Do you have a question about the Senseo HD7860/01 and is the answer not in the manual?
Questions and answers