Electrolux EWFLW65H - 27'' Front-Load Washer Instructions Manual
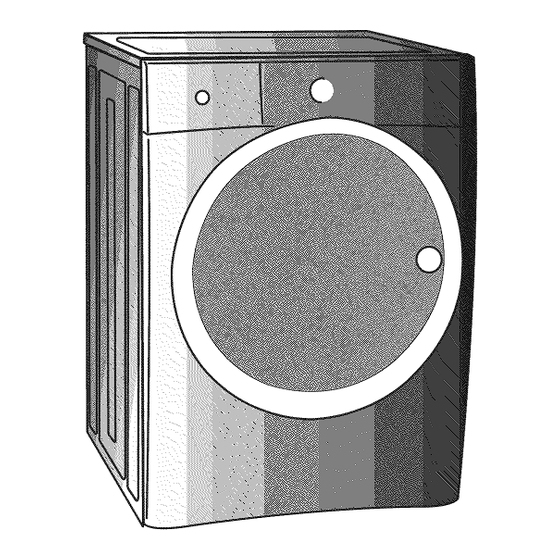
Front-load washer
Hide thumbs
Also See for EWFLW65H - 27'' Front-Load Washer:
- Technical & service manual (90 pages) ,
- Use and care manual (44 pages) ,
- Installation instructions manual (19 pages)

Related Manuals for Electrolux EWFLW65H - 27'' Front-Load Washer


Summary of Contents for Electrolux EWFLW65H - 27'' Front-Load Washer
- Page 1 |nsta||afion |nstrucfions Electro[u× Fro_t-Load Washer de lnsta|acion lnstrucciones [__avadora de carga fro_tal Electro[ux Instructions d'insta||afion Laveuse _ chargeme_lt fro_ta[ E[ectro[ux...
-
Page 2: Table Of Contents
Finding Information Please read and save this guide Thank you for choosing Electrolux, the new premium brand in home appliances. These Installation Instructions are part of our commitment to customer satisfaction and product quality throughout the life of your new appliance. -
Page 3: Safety
Safety [mpoAant Safety Instructions Recognize safety symbols, words labels Safety items throughout this manual are labeled with a WARNING or CAUTION based on the risk type as described below: WARNING This symbol alerts you to situations that may cause serious body harm, death WHAT TO DO IF YOU SMELL GAS: or property damage. - Page 4 Installation Requirements E ectrica system requirements supply cord having an equipment-grounding CIRCUIT - Individual, properly polarized and conductor and a grounding plug, the plug grounded 15 amp. branch circuit fused with 15 MUST be plugged into an appropriate, copper amp. time delay fuse or circuit breaker. wired receptacle that is properly installed and grounded in accordance with all local codes and POWER SUPPLY - 2 wire, with ground, 120 volt...
- Page 5 Installation Requirements Clearance requirements MINIMUM INSTALLATION CLEARANCES - Inches (cm) SIDES REAR FRONT Alcove 0" (0 cm) 0" (0 cm)* 0" (0 cm) Under- Counter 0" (0 cm) 0" (0 cm)* 0" (0 cm) Closet 0" (0 cm) 0" (0 cm)* 0"...
-
Page 6: Installation Requirements
installation Requirements Installed washer dimensions (128.53cm)* to clear open door (80.01cm) (68.58cm) to front of closed door water supply connection on rear of unit 1 power cord drain hose on rear on rear of unit 2 of unit 38.00" (96.52cm) freestand washer on floor... -
Page 7: Unpacking Washer
Washer Unpackin Removing foam packaging 1. Temporarily remove door tape. 2. Open washer door and remove everything from the drum. 3. Close door and reapply door tape. 4. Using a rug, blanket or piece of cardboard to protect the floor, carefully lay the washer on it's back. -
Page 8: Removing Shipping Hardware
Unpacking Washer Removing shipping hardware 1 SHIPPING FORK [] 5 P CLAMPS ® 5 SPACER • BOLTS UNWERSAI " ®_ WRENCH (SUPPLIED) Remove all of the following: 1 SHIPPING FORK ® 5 SPACERS []5PCLAMPS 05BOLTS Installing hole pmugs Locate 7 hole plugs in the small bag supplied with washer instruction guides. -
Page 9: Installation Instructions
Installation instructions Leveling your washer Excessive noise and vibration can be prevented by properly leveling the washer. 1. For free standing installation and with the washer within 4 feet (1 m) of its final location, place a level on top of the washer. 2. -
Page 10: Connecting Inlet Water
installation instructions Connecting inlet water 1. Run some water from the hot and cold faucets to flush the water lines and remove particles that might clog the water valve screens and to determine which faucet is hot and which is cold supply. -
Page 11: Connecting Drain & Electrical
Installation Instructions and electrical Connecting drain Snap one end of the drain hose hanger (shipped in washer drum) onto the drain hose. Continue wrapping it around the hanger and snap it in place. Place the hook end of the drain hose in the drain opening. -
Page 12: Performing Installation Cycle
Installation Instructions Pe#ormin9 Installation Cycle If your washer has this console: "_ :. li i io° 1. Empty washer's drum and close door. 2.After you plug in the washer the first time: wake up the washer by pressing any button, rotate cycle knob to hand wash cycle, press the start button and then the cancel button. -
Page 13: Reversing Door
Reversing Door Preparing to reverse door swing 1 Be sure you have adequate swing area before reversing door. Tools needed: You will need a screw driver with a #2 square bit. Protect flat work surface, such as top of washer or floor near washer, with a soft cloth or towel. - Page 14 Reversing Door C) Removing Hinge from Front Panel D) Removing Door Lock from Front Panel 1 With the hinge in open position, remove 2 1 Remove 2 short, course-thread, panhead screws from the door lock. short, course-thread, panhead screws on hinge plate.
- Page 15 Reversing Door Reversing door and hardware F) Reattaching Hinge to Front Panel E) Reattaching Door Lock to Front Panel 1 Rotate the door lock and move it to the 1 Rotate the hinge and move it to the opposite opening. opposite opening.
- Page 16 Reversing Door G) Removing Striker Plate I) Removing Hole Plug Remove 2 long, course-thread, counter-sunk screws and striker plate. iI_I_I i iii_ii_ 1 Insert flat blade screwdriver into open slot of 2 Set the striker plate to the side for later. hole plug.
- Page 17 Reversing Door J) Reinserting Latch Indicator K) Reattaching Striker Plate 1 Rotate the latch indicator and move it to the 1 Rotate the striker plate and move it to the opposite hole in the door. opposite side of door above the indicator. Reattach with 2 long, course-thread, counter-sunk screws.
- Page 18 Reversing Door Reattaching door and hardware M) Reattaching Door Assembly O) Reinstalling Trim Ring 1 CIosethe door. 1 Open the hinge to a 90 degree angle. Install the door onto the hinge locating pins. Orient the trim so 12 position is approximately 3/4"to the left of top center.
-
Page 19: Options
Repmacement paAs: 1-877-4ELECTROLUX (1-877-435-3287} If replacements parts are needed for your washer, contact the source where you purchased your washer, call 1-877-4ELECTROLUX (1-877-435- 3287), or visit our website, www.electroluxappliances.com, for the Electrolux Authorized Parts Distributor nearest you. -
Page 20: Notes
Notes...
Need help?
Do you have a question about the EWFLW65H - 27'' Front-Load Washer and is the answer not in the manual?
Questions and answers