Honeywell Voyager 1200g Manual
- User manual (288 pages) ,
- Quick start manual (13 pages) ,
- User manual (230 pages)
Advertisement
Getting Started
Turn off the computer's power before connecting the scanner, then power up the computer once the scanner is fully connected.
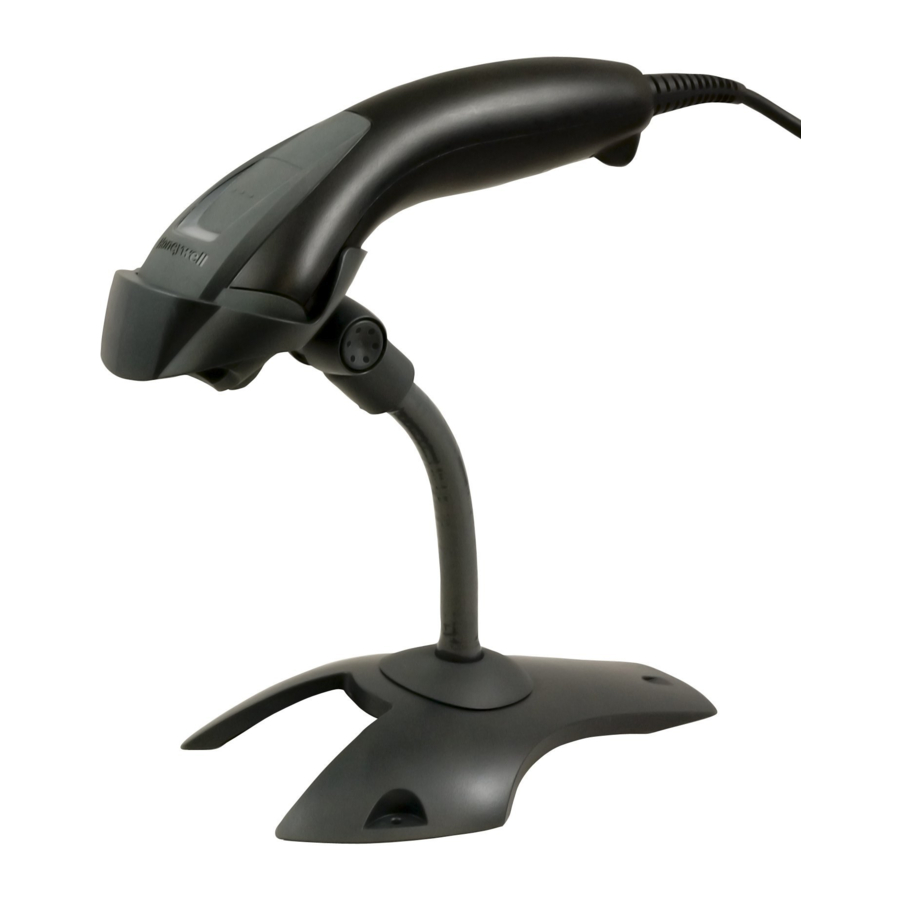
Power Supply Assembly
(if included)

Connecting the Device

USB

Serial (RS232)

RS485

Keyboard Wedge
Reading Techniques

Standard Product Defaults
The following bar code resets all standard product default settings.

RS485 Interface
The RS485 interface defaults to port 5B. If you have an IBM POS terminal using port 9B, scan the appropriate code below to program the terminal, then power cycle the cash register.

Keyboard Country
Scan the Program Keyboard Country bar code below, then scan the numeric bar code(s) from the end of this document, then the Save bar code to program the keyboard for your country. As a general rule, the following characters are not supported by the scanner for countries other than the United States:
@ | $ # { } [ ] =/ ' \ < > ~.

| Country Code | Scan | Country Code | Scan | Country Code | Scan |
| Arabia | 91 | Hungary | 19 | Spain | 10 |
| Belgium | 1 | IBM Financial | 90 | Switzerland | 6 |
| China | 92 | Italy | 5 | Thai | 94 |
| Finland | 2 | Japan | 28 | Turkey | 24 |
| France | 3 | Korea | 93 | USA (Default) | 0 |
| Germany/Austria | 4 | Russia | 26 | Vietnam | 95 |
| Great Britain | 7 | Slovenia | 31 |

Out-of-Stand Modes/Code Gate Activation
When the scanner is in the stand, bar codes are automatically read when they are in the scanner's field of view. When the scanner is out of the stand, by default you must push the button on top of the scanner to read a bar code. Use the following commands to adjust how the scanner behaves when it is out of the stand.
Presentation Mode Out-of-Stand: When the scanner is not in the stand, it automatically detects bar codes, then scans and transmits the data. The laser turns off afterward. (If you are accustomed to a Voyager 9520, this setting is the same as the 9520's default.)

Presentation Mode with CodeGate Out-of-Stand: When the scanner is not in the stand, it automatically detects bar codes and decodes them. However, the data is not transmitted until you press the button. The laser remains on briefly after the transmission. (If you are accustomed to a Voyager 9540, this setting is the same as the 9540's default.)

Reread Delay
This sets the time period before the scanner can read the same bar code a second time. Setting a reread delay protects against accidental rereads of the same bar code.

Suffix
If you want a carriage return after the bar code, scan the Add CR Suffix bar code. To add a tab after the bar code, scan the Add Tab Suffix bar code. Otherwise, scan the Remove Suffix bar code to remove the suffixes.

Add Code ID Prefix to all Symbologies

Scan the bar code above if you wish to add a Code ID prefix to all symbologies at once.
Note: For a complete list of Code IDs, see the User's Guide.
Data Format Editor Instructions
The following are abbreviated instructions for entering a data format. For complete instructions refer to your User's Guide.
- Scan the Enter Data Format symbol.

- Primary/Alternate Format: scan 0 for Primary Format
- Terminal Type: scan 099 for any terminal type
- Code I.D.: scan 99 for any bar code type
- Length: scan 9999 for any length bar code.
- Editor commands: use the Programming Chart that follows.
- Scan Save to save your entries.


Programming Chart


EZConfig
To access additional features for the scanner use EZConfig, an online configuration software tool, available from our website at www.honeywellaidc.com.
Technical Assistance
Contact information for technical support, product service, and repair can be found at www.honeywellaidc.com.
Web Address: www.honeywellaidc.com
Documents / Resources
References
Download manual
Here you can download full pdf version of manual, it may contain additional safety instructions, warranty information, FCC rules, etc.
Advertisement


Need help?
Do you have a question about the Voyager 1200g and is the answer not in the manual?
Questions and answers