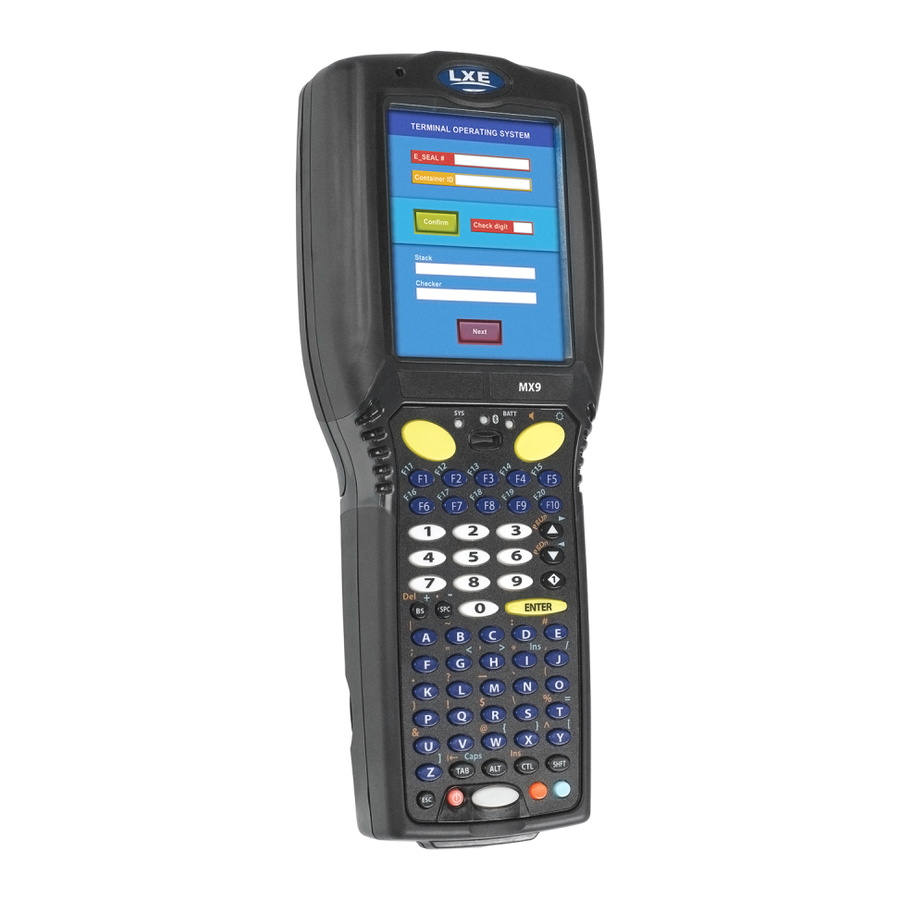
Honeywell MX9 User Manual
Hide thumbs
Also See for MX9:
- Reference manual (370 pages) ,
- User manual (356 pages) ,
- User manual (66 pages)

Related Manuals for Honeywell MX9


Summary of Contents for Honeywell MX9
- Page 1 Hand-Held Computer Microsoft® Windows® CE 5 Operating System Battery Charger User's Guide...
-
Page 2: Limited Warranty
Disclaimer Honeywell International Inc. (“HII”) reserves the right to make changes in specifications and other information contained in this document without prior notice, and the reader should in all cases consult HII to determine whether any such changes have been made. The information in this publication does not represent a commitment on the part of HII. -
Page 3: Table Of Contents
Table of Contents Chapter 1: Introduction About this Guide Setup Overview Cautions and Warnings Battery Charger Lithium-Ion Battery Pack Components Installation Assemble the Power Supply Setup Charging Batteries Inserting a Battery into the Charging Pocket Remove the Battery from the Charging Pocket Interpreting the Charging Pocket LEDs RED Continuous - on any charge pocket RED FLASHING - on all charge pockets... - Page 4 Peripheral Devices Maintenance Routine Label the Batteries A Simple Battery Usage Routine Sample Log for Battery Maintenance Chapter 3: Technical Assistance...
-
Page 5: Chapter 1: Introduction
This device cannot charge/recharge coin cell batteries sealed inside the mobile device, if any. About this Guide This MX9 Battery Charger User's Guide is intended to familiarize the user with the safety and operating instructions necessary to use the MX9 Battery Charger (Model MX9385CHARGER, MX9384CHARGER) to charge rechargeable lithium-ion battery packs (MX9380BATTERY, MX9381BATTERY) . -
Page 6: Cautions And Warnings
Do not store the Li-Ion battery pack in direct sunlight or anywhere the battery pack cannot cool down. If the Li-Ion battery pack is hot after removal from the MX9, allow it to cool at room temperature or in a cool air stream before placing it in the charger. -
Page 7: Components
Components 1. Battery Charging Pocket 2. Battery Charging Pocket LED 3. Battery Pocket Spring Clip 4. Battery Retaining Clip 5. AC Power port... -
Page 8: Installation
Installation Assemble the Power Supply Assemble the AC adapter for the MX9 Battery Charger before connecting it to the charger. The AC power supply for the battery charger is shipped with the battery charger. Contact Technical Assistance if there is no AC cable. -
Page 9: Setup
Setup Prerequisite: The AC Adapter is assembled and receiving AC power. The battery charger should be located in an area where it: Is well ventilated. Is not in high traffic areas. Locates or orients the AC cord so that it will not be stepped on, tripped over or subjected to damage or stress. Has enough clearance to allow easy access to the power port on the back of the device. -
Page 10: Charging Batteries
Charging Batteries New batteries should be charged fully before first use. The life and capacity of a Lithium Ion battery pack can vary significantly depending on the discharge current and the environment in which it is used. When a battery is placed in a charging pocket, the battery charger begins charging the battery. There is a slight delay while the charger evaluates the condition of the battery (ambient temperature, remaining charge, etc.) before charging begins. -
Page 11: Inserting A Battery Into The Charging Pocket
Inserting a Battery into the Charging Pocket Caution! It is important that battery packs are inserted into the charging pocket correctly. Inserting the battery incorrectly could result in damage to the battery pack or the charger. Caution! Do not “slam” the battery pack into the charging pocket. Damage may result. When preparing the battery pack for insertion into the battery charging pocket, hold the battery with its four charging contacts in line with the charging contacts in the charging pocket. -
Page 12: Interpreting The Charging Pocket Leds
Interpreting the Charging Pocket LEDs The status of the charge operation is indicated by the color of the LED for each charging pocket. RED Continuous - on any charge pocket Continuous red means the battery pack is charging. RED FLASHING - on all charge pockets Battery charger fault or failure. -
Page 13: Battery Charger Help
The following is intended as an aid in determining whether the battery pack or the charger may be malfunctioning: Problem Cause Solution Check if the MX9 battery pack has Honeywell part number Different manufacturer's battery pack, Battery pack does not MX9380BATT or MX9381BATT (Low Temperature) on the or there is an object in the charging fit in charging pocket. - Page 14 Problem Cause Solution The battery pack voltage has not reached 6.0V within 30 minutes and LED is flashing RED at the charger has timed out.The battery Contact Technical Assistance for battery pack replacement any pocket. pack voltage has not reached 2.5V options.
-
Page 15: Charger Cleaning, Storage And Service
Charger Cleaning, Storage and Service Cleaning Unplug the charger from the power source before cleaning or removing debris from charging pockets. Use only mild detergent with a slightly damp cloth to clean the outside of the charger. Do not use solvents or flammable cleaners. -
Page 16: Battery Cleaning, Storage And Service
Battery Cleaning, Storage and Service Cleaning The battery pack should not require cleaning unless it has become heavily soiled. Old or damaged batteries should be disposed of promptly and properly. The best way to dispose of used batteries is to recycle them. Battery recycling facilities recover the Nickel, Lithium or Lead from old batteries to manufacture new batteries. -
Page 17: Technical Specifications
Technical Specifications Electrical Note: Battery packs may leak up to 1mA current through the battery contacts when left in an unpowered battery charger charging pocket. Parameter Minimum Maximum Note Power Supply Input Voltage (V AC-IN) 100 VAC 240VAC Auto-switching Power Supply Input Frequency (freq) 47Hz 63Hz Power Supply Output Voltage... - Page 18 1-14...
-
Page 19: Chapter 2: Set Up A Battery Maintenance Routine
Chapter 2: Set up a Battery Maintenance Routine Introduction The MX9 uses a 2400 mAh/2200mAh Low-temp battery. Minimum battery life is 500 charge/discharge cycles before replacement. Hand held devices and body worn devices use Lithium Ion (Li-Ion) main battery packs that are lightweight and relatively small. -
Page 20: Peripheral Devices
If the peripheral device does not have its own power source, and is designed to draw power from your MX9 battery, be aware that the way you use the peripheral device affects the drain on your battery. Peripheral devices affect your battery life in the following ways: The number of peripheral devices you use affects the drain on your batteries. -
Page 21: Maintenance Routine
Maintenance Routine Managing your batteries with a battery maintenance routine is intended to ensure: You get as much battery life as you can. You need fewer batteries per shift. Every shift has fully charged batteries. There is a battery slot on the charger for each battery at the end of every shift. All unused batteries are placed in a charger at the end of every shift. -
Page 22: A Simple Battery Usage Routine
3. Users place all used batteries into battery chargers at the end of every shift. 4. Track battery capacity readings by recording the date of last charge for each battery on the label (or log sheet). Sample Log for Battery Maintenance MX9 Main Battery Charger (MX9 Battery Charger) -
Page 23: Chapter 3: Technical Assistance
Limited Warranty Honeywell International Inc. ("HII") warrants its products to be free from defects in materials and workmanship and to conform to HII’s published specifications applicable to the products purchased at the time of shipment. This warranty does not cover any HII product which is (i) improperly installed or used;... - Page 24 The duration of the limited warranty for the MX9 Battery Charger is 1 year. The duration of the limited warranty for the MX9 2400mAh Li-Ion and 2100mAh Li-Ion Battery is 6 months. The duration of the limited warranty for the MX9 AC power supply and cables is 1 year.
- Page 26 Honeywell Scanning & Mobility 9680 Old Bailes Road Fort Mill, SC 29707 www.honeywellaidc.com E-EQ-MX9CHGROG Rev E 10/12...
Need help?
Do you have a question about the MX9 and is the answer not in the manual?
Questions and answers